4 Tips for Setting Up Your Flushmaster
At Seamule LLC, we understand the importance of easy motor maintenance, which is why we’ve developed the innovative Flushmaster. This automated system takes the hassle out of flushing your outboard motors, allowing you to enjoy more time on the water. Here are four tips to set up your Flushmaster for optimal performance.

1. Choose the Right Location
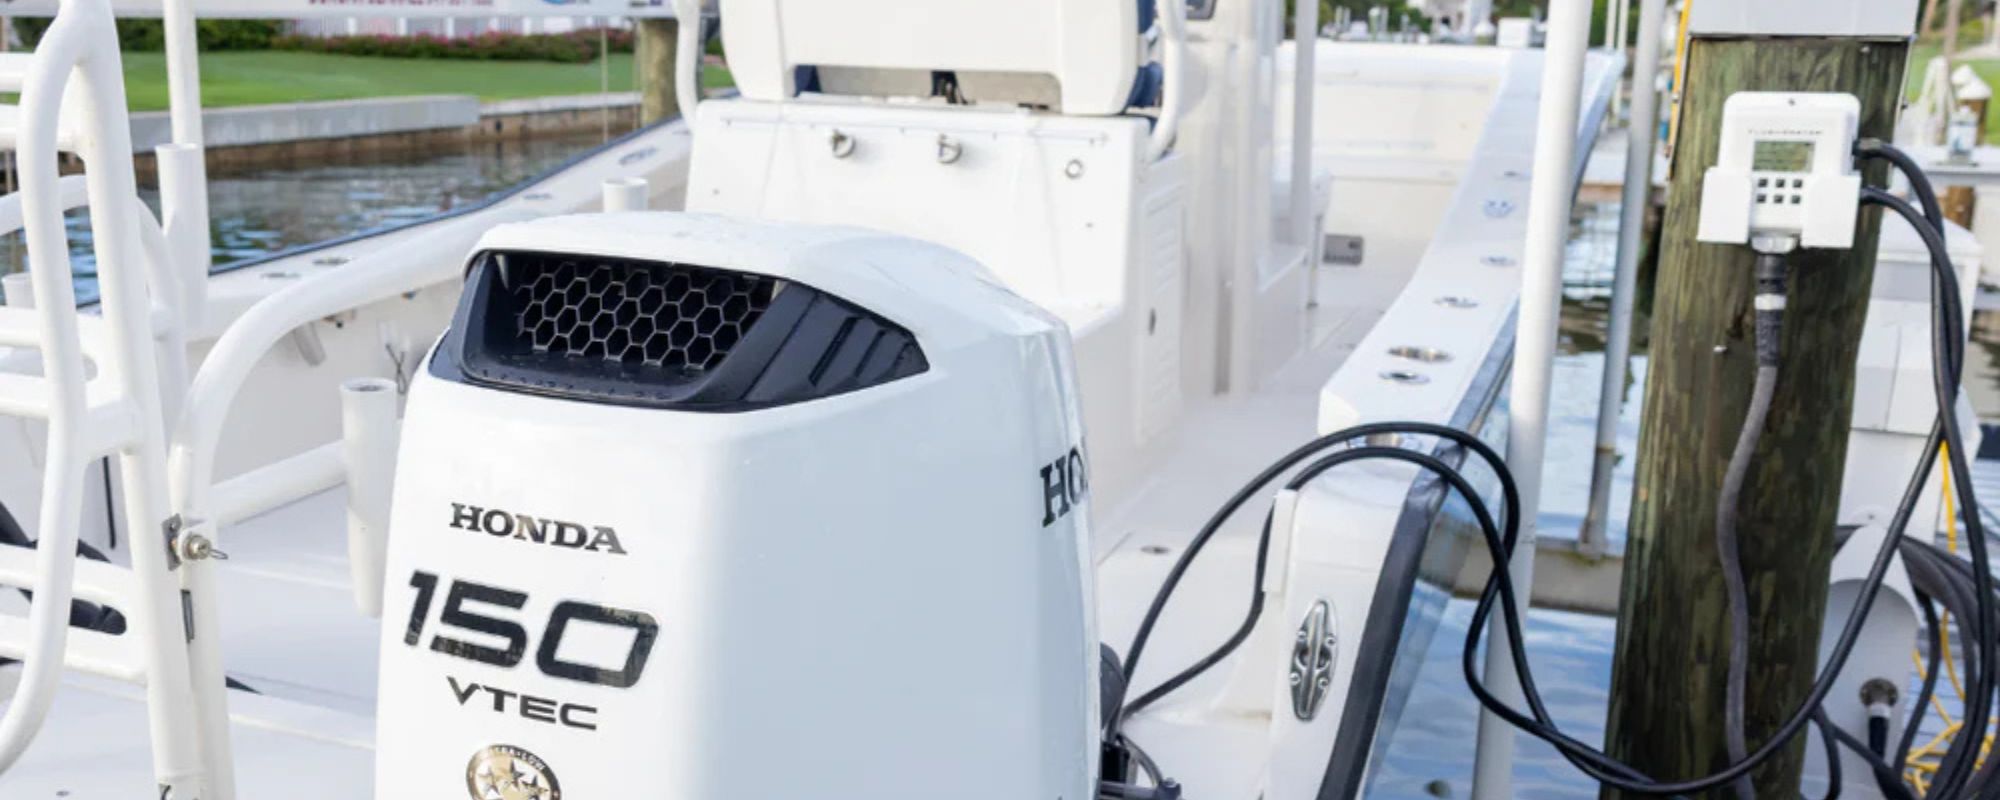
When setting up your Flushmaster, select a stable and convenient location close to your water source. A portable setup is ideal, as it allows you to easily position the device near your boat or trailer. Ensuring accessibility will make your flushing routine quick and efficient.

2. Connect to Water Supply
Once you’ve located the perfect spot, it’s time to connect the Flushmaster to your water source. Simply attach your garden hose to the device. The Flushmaster is designed to automatically manage water flow, so you can relax and let the device do the work. This feature significantly simplifies the flushing process!

3. Program Your Settings
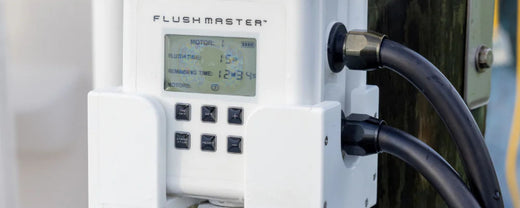
Take advantage of the pre-programmed settings on your Flushmaster. After pressing start, the device will automatically flush for 15 minutes through each outlet. You can select the desired time for each motor, ensuring comprehensive care for all your outboard engines. This programmable functionality saves you time and provides peace of mind.

4. Monitor Completion
As your Flushmaster runs, you won’t need to keep an eye on it. Once the flushing is complete for all outboards, an audible completion sound will notify you. The device will shut off and block water flow, eliminating the need to return for disconnection. This seamless process makes maintenance effortless and efficient.
Seamule LLC is dedicated to simplifying your boating experience with our Flushmaster. Follow these tips to maximize the benefits of your portable device, ensuring your outboard motors are always ready for your next adventure! Learn more about the Flushmaster and how it can simplify your boating experience.


